How to Install a Projector Screen: Step-by-Step Guide
AM
Understanding Your Projector Screen Type
Before you begin the installation process, it's essential to know the type of projector screen you're working with. There are various types available, including fixed frame, pull-down, motorized, and portable. Each type has specific requirements for installation, so understanding your screen's characteristics will guide you through the setup more smoothly.
Gather the Necessary Tools and Materials
Once you know your screen type, gather the tools and materials needed for installation. Typically, you will need a measuring tape, level, drill, screwdriver, anchors, and screws. Having these tools on hand will make the process more efficient and help avoid unnecessary interruptions.
- Measuring tape
- Level
- Drill
- Screwdriver
- Anchors and screws
Deciding on the Location
Choosing the right location for your projector screen is crucial for optimal viewing. Consider the size of the room, the distance from seating areas, and ambient light sources. Ideally, the screen should be positioned at eye level when seated and away from direct sunlight to prevent glare.

Measuring and Marking
With your location determined, use a measuring tape to measure and mark where your projector screen will be mounted. It's important to ensure these measurements are accurate to avoid crooked or uneven installation. Use a level to make sure your markings are straight.
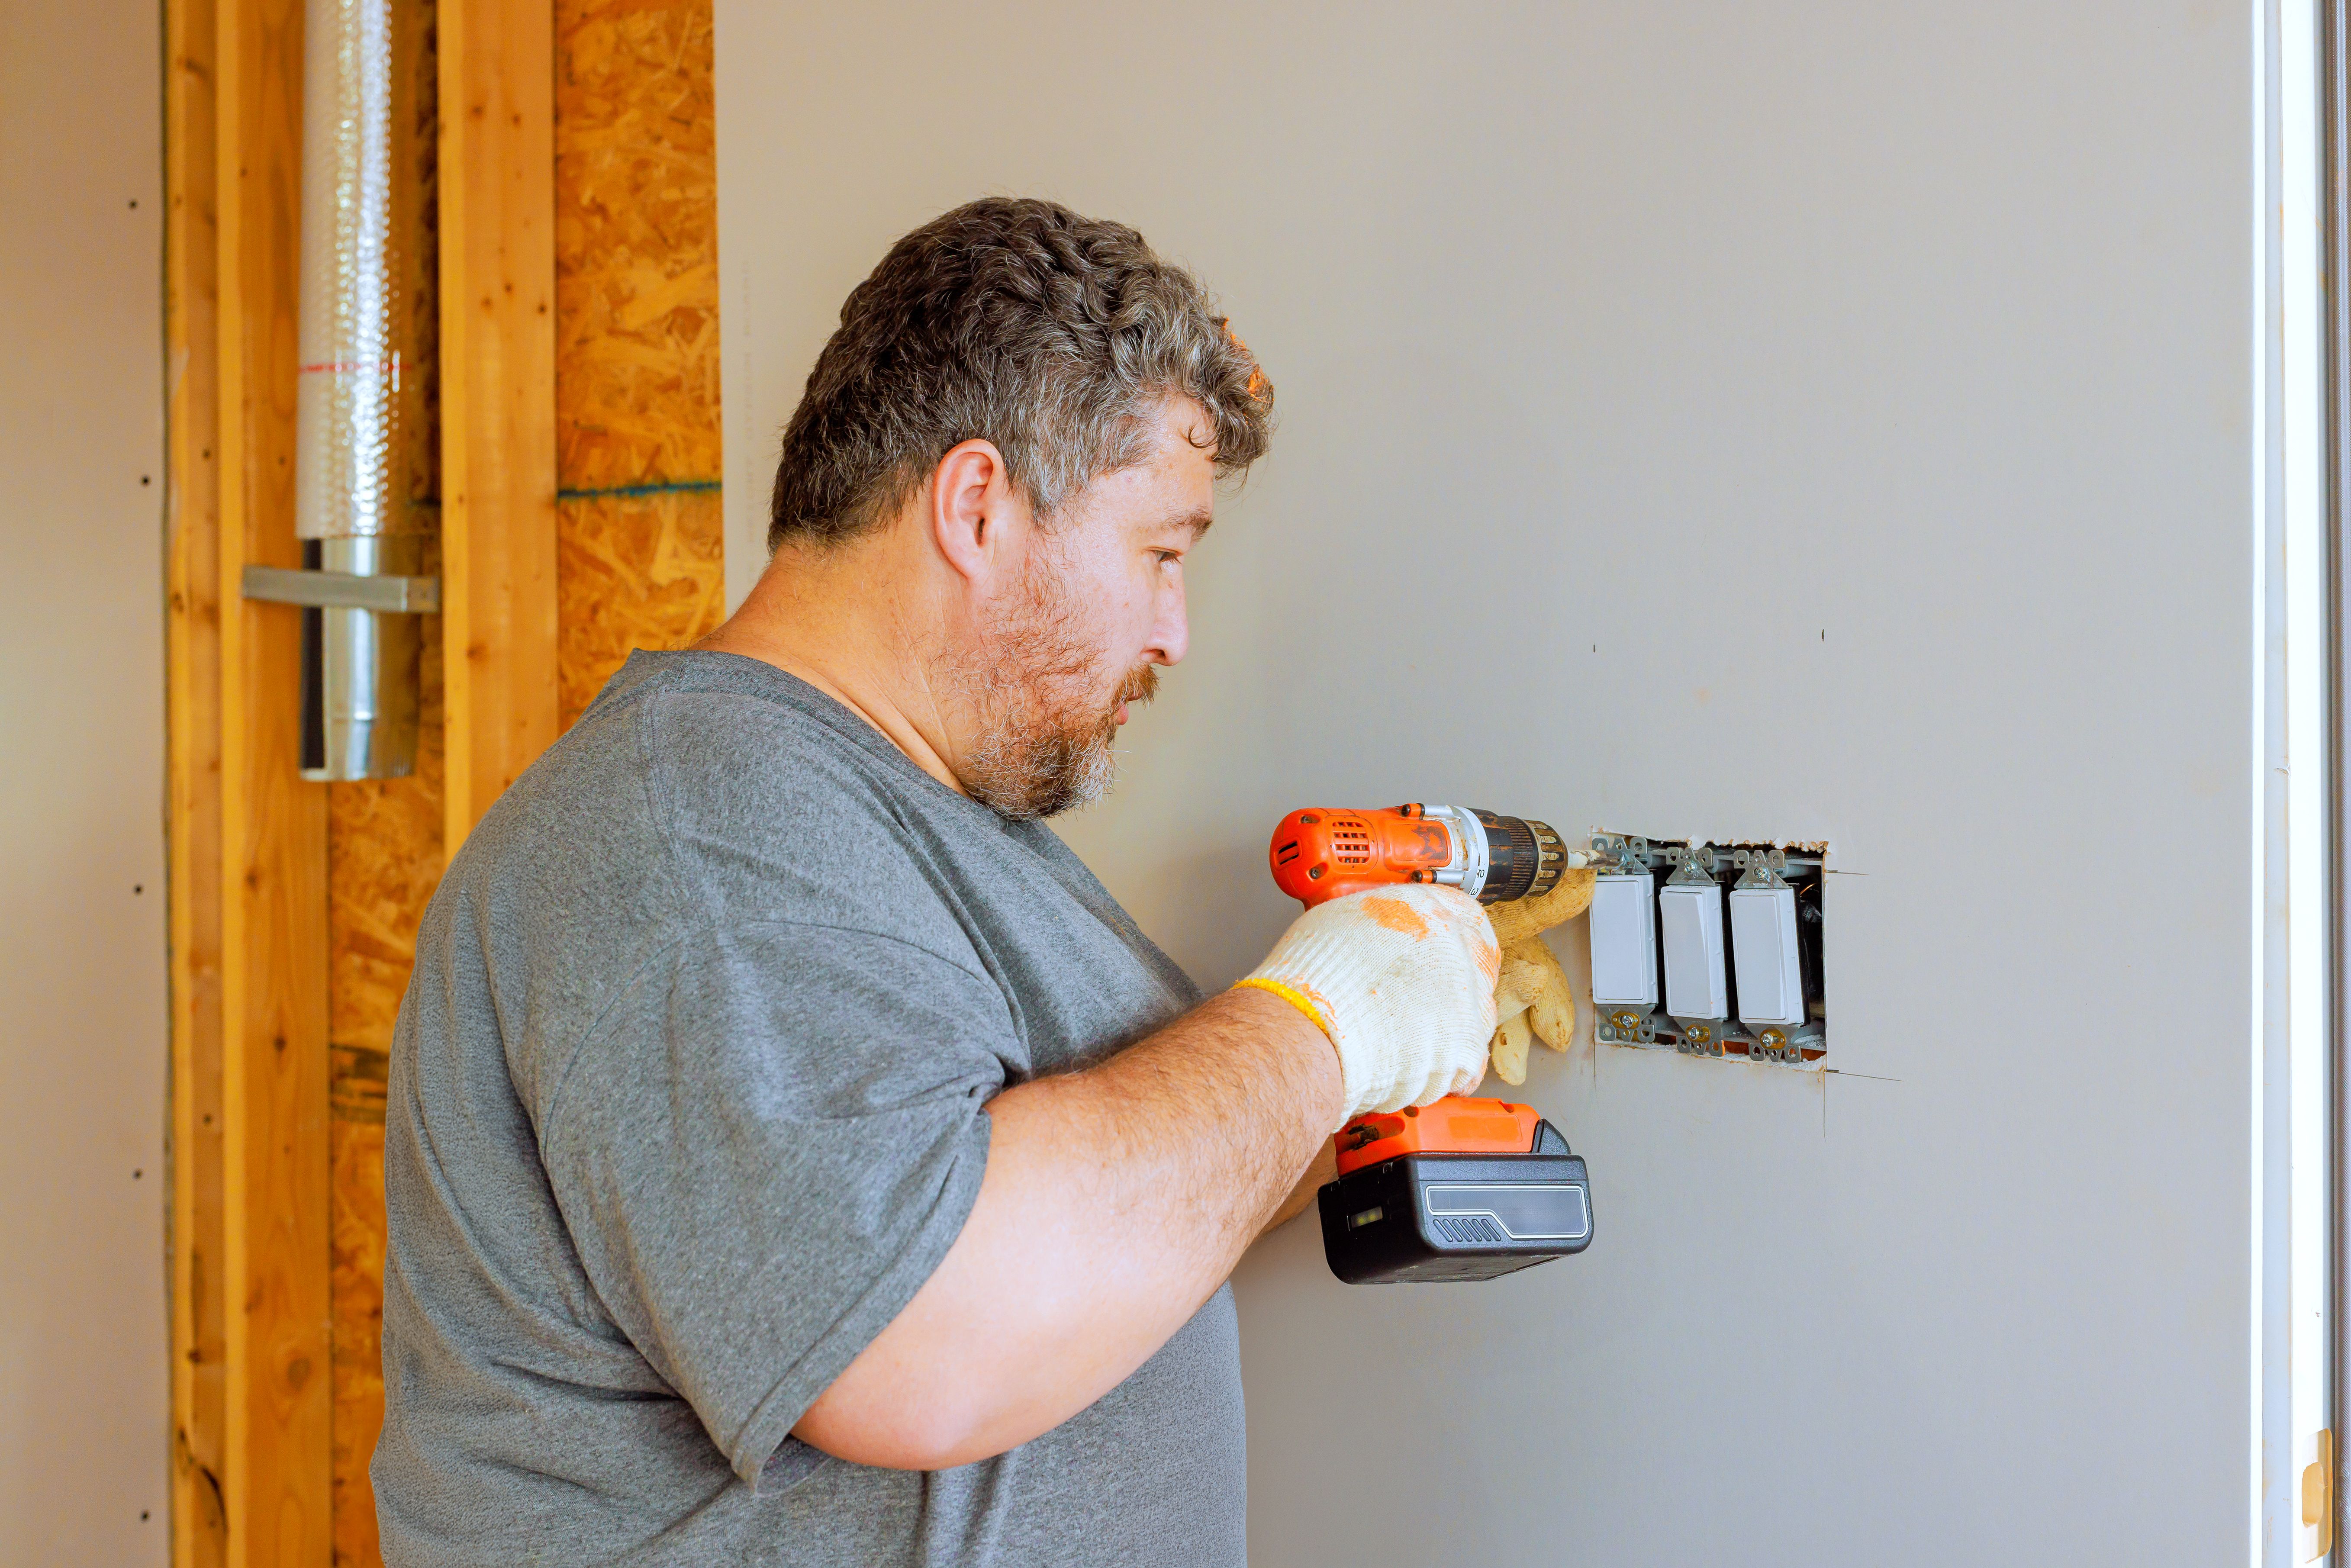
Mounting the Brackets or Frame
If your screen requires brackets or a frame for mounting, attach them securely to the wall using a drill and screws. Ensure that they are aligned with your markings and are level. For heavy screens, it's recommended to mount brackets to wall studs for added support.
Installing the Projector Screen
With the brackets or frame in place, you can now install the projector screen. For pull-down screens, simply attach the screen casing to the brackets. For fixed frame screens, fit the screen into the frame according to the manufacturer’s instructions. Make sure everything is secure and stable before proceeding.
Testing and Adjustments
Once installed, test the projector screen by pulling it down or turning on the motorized function. Check for smooth operation and make any necessary adjustments. Ensure that the screen is wrinkle-free and properly aligned with your projector's image.

Final Touches and Maintenance Tips
After successful installation, tidy up any cables or loose ends for a clean finish. Regular maintenance is important to keep your projector screen in good condition. Dust it periodically and check for any signs of wear or damage that may affect its performance over time.
By following these steps, you'll have a well-installed projector screen set up for a great viewing experience in no time. Whether it's for home cinema or professional presentations, a properly installed screen can significantly enhance your visual display.