DIY Tips for Installing a Projector Screen in Your Home Theater
AM
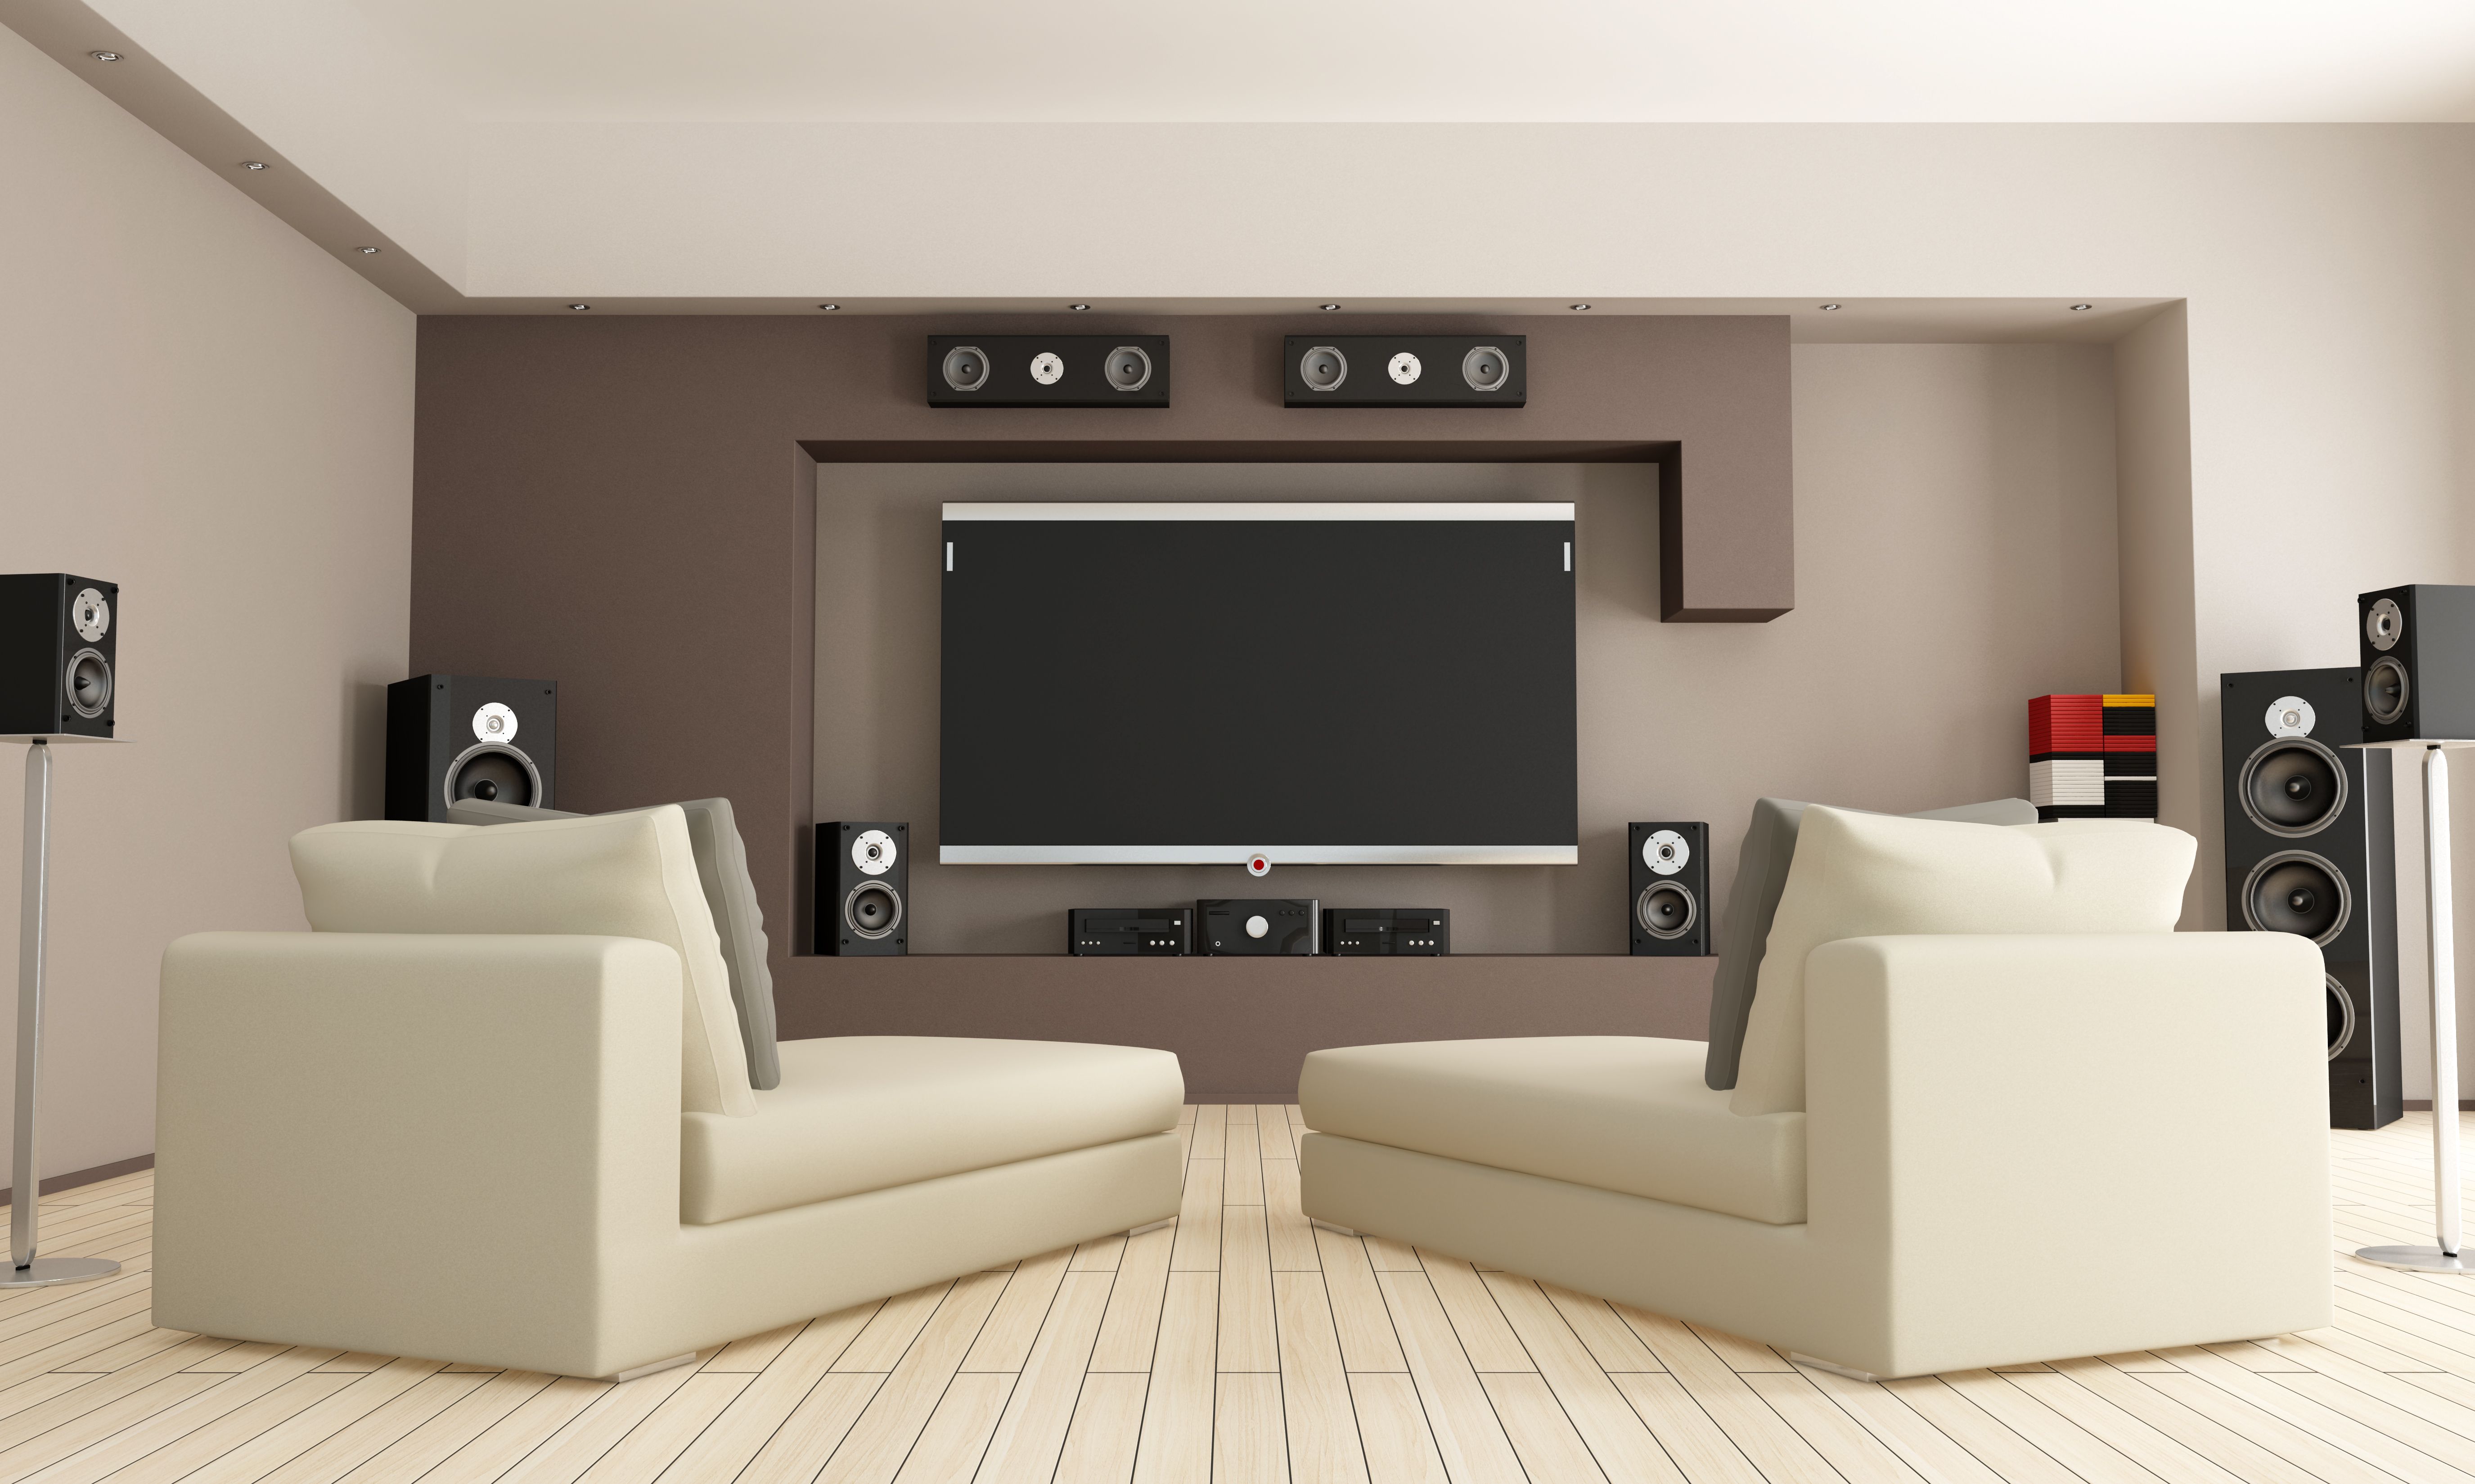
Choosing the Right Location
Before diving into the installation process, it's crucial to choose the right location for your projector screen. Consider the distance from the projector to the screen, ensuring it fits your projector's throw distance requirements. Avoid places with direct sunlight as it can wash out the image quality. If possible, select a room with controlled lighting to enhance the cinematic experience.
Another important factor is the viewing angle. Ensure that everyone in the room has a clear and unobstructed view of the screen. This might mean adjusting furniture or even considering a screen size that fits well with the room's dimensions.
Gathering Necessary Tools and Materials
Having the right tools and materials on hand will make the installation process smoother and more efficient. You will need a measuring tape, level, screwdriver, drill, and mounting hardware. Depending on the type of wall you're working with, you may also need specific anchors or studs to ensure a secure installation.
In addition to tools, make sure you have the right screen type for your setup. Whether you choose a fixed frame, electric, or manual pull-down screen, each has its own installation requirements. Read through the manufacturer's instructions carefully to understand what's needed for your specific screen model.
Mounting the Projector Screen
Once you have prepared your space and gathered your tools, it's time to mount the projector screen. Start by marking the spots where you'll be installing the brackets or mounts using a pencil. Ensure these marks are level to avoid a crooked screen. Use a level tool for precision.
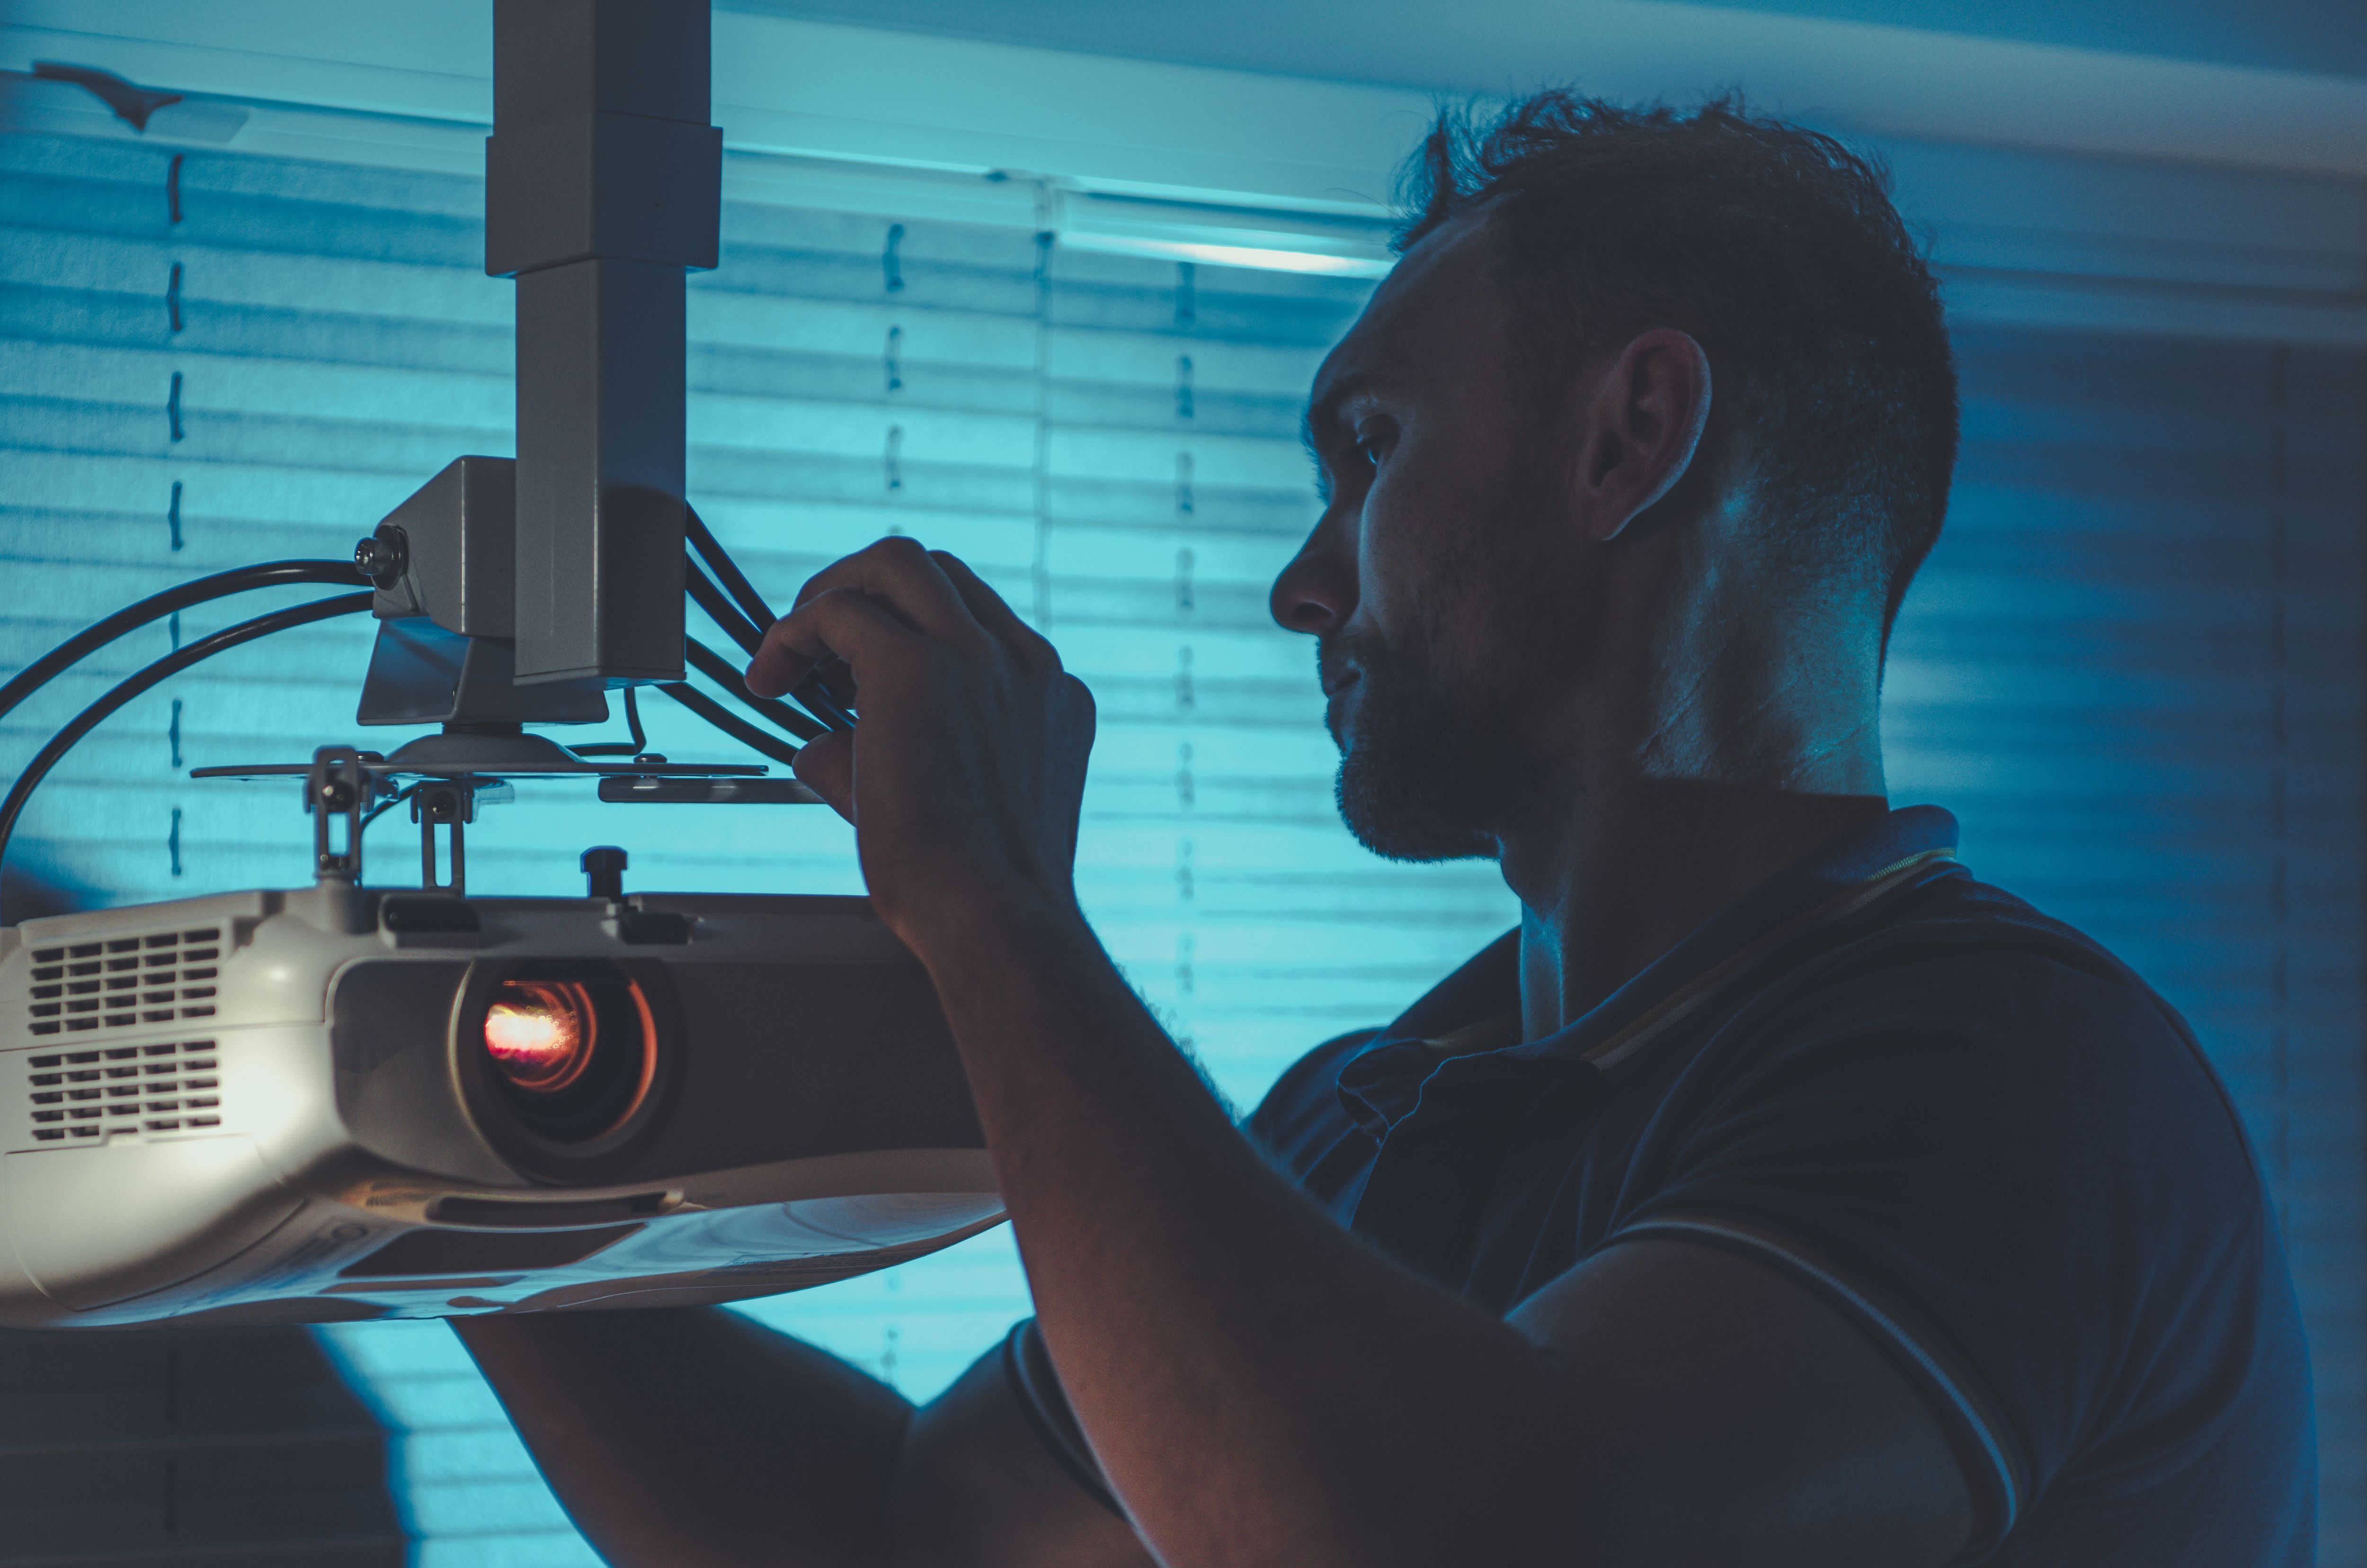
Next, drill holes where you've made your marks and insert wall anchors if necessary. Attach the brackets securely to the wall, ensuring they can support the weight of your projector screen. Finally, hang the screen on the brackets, checking once more that everything is level and aligned properly.
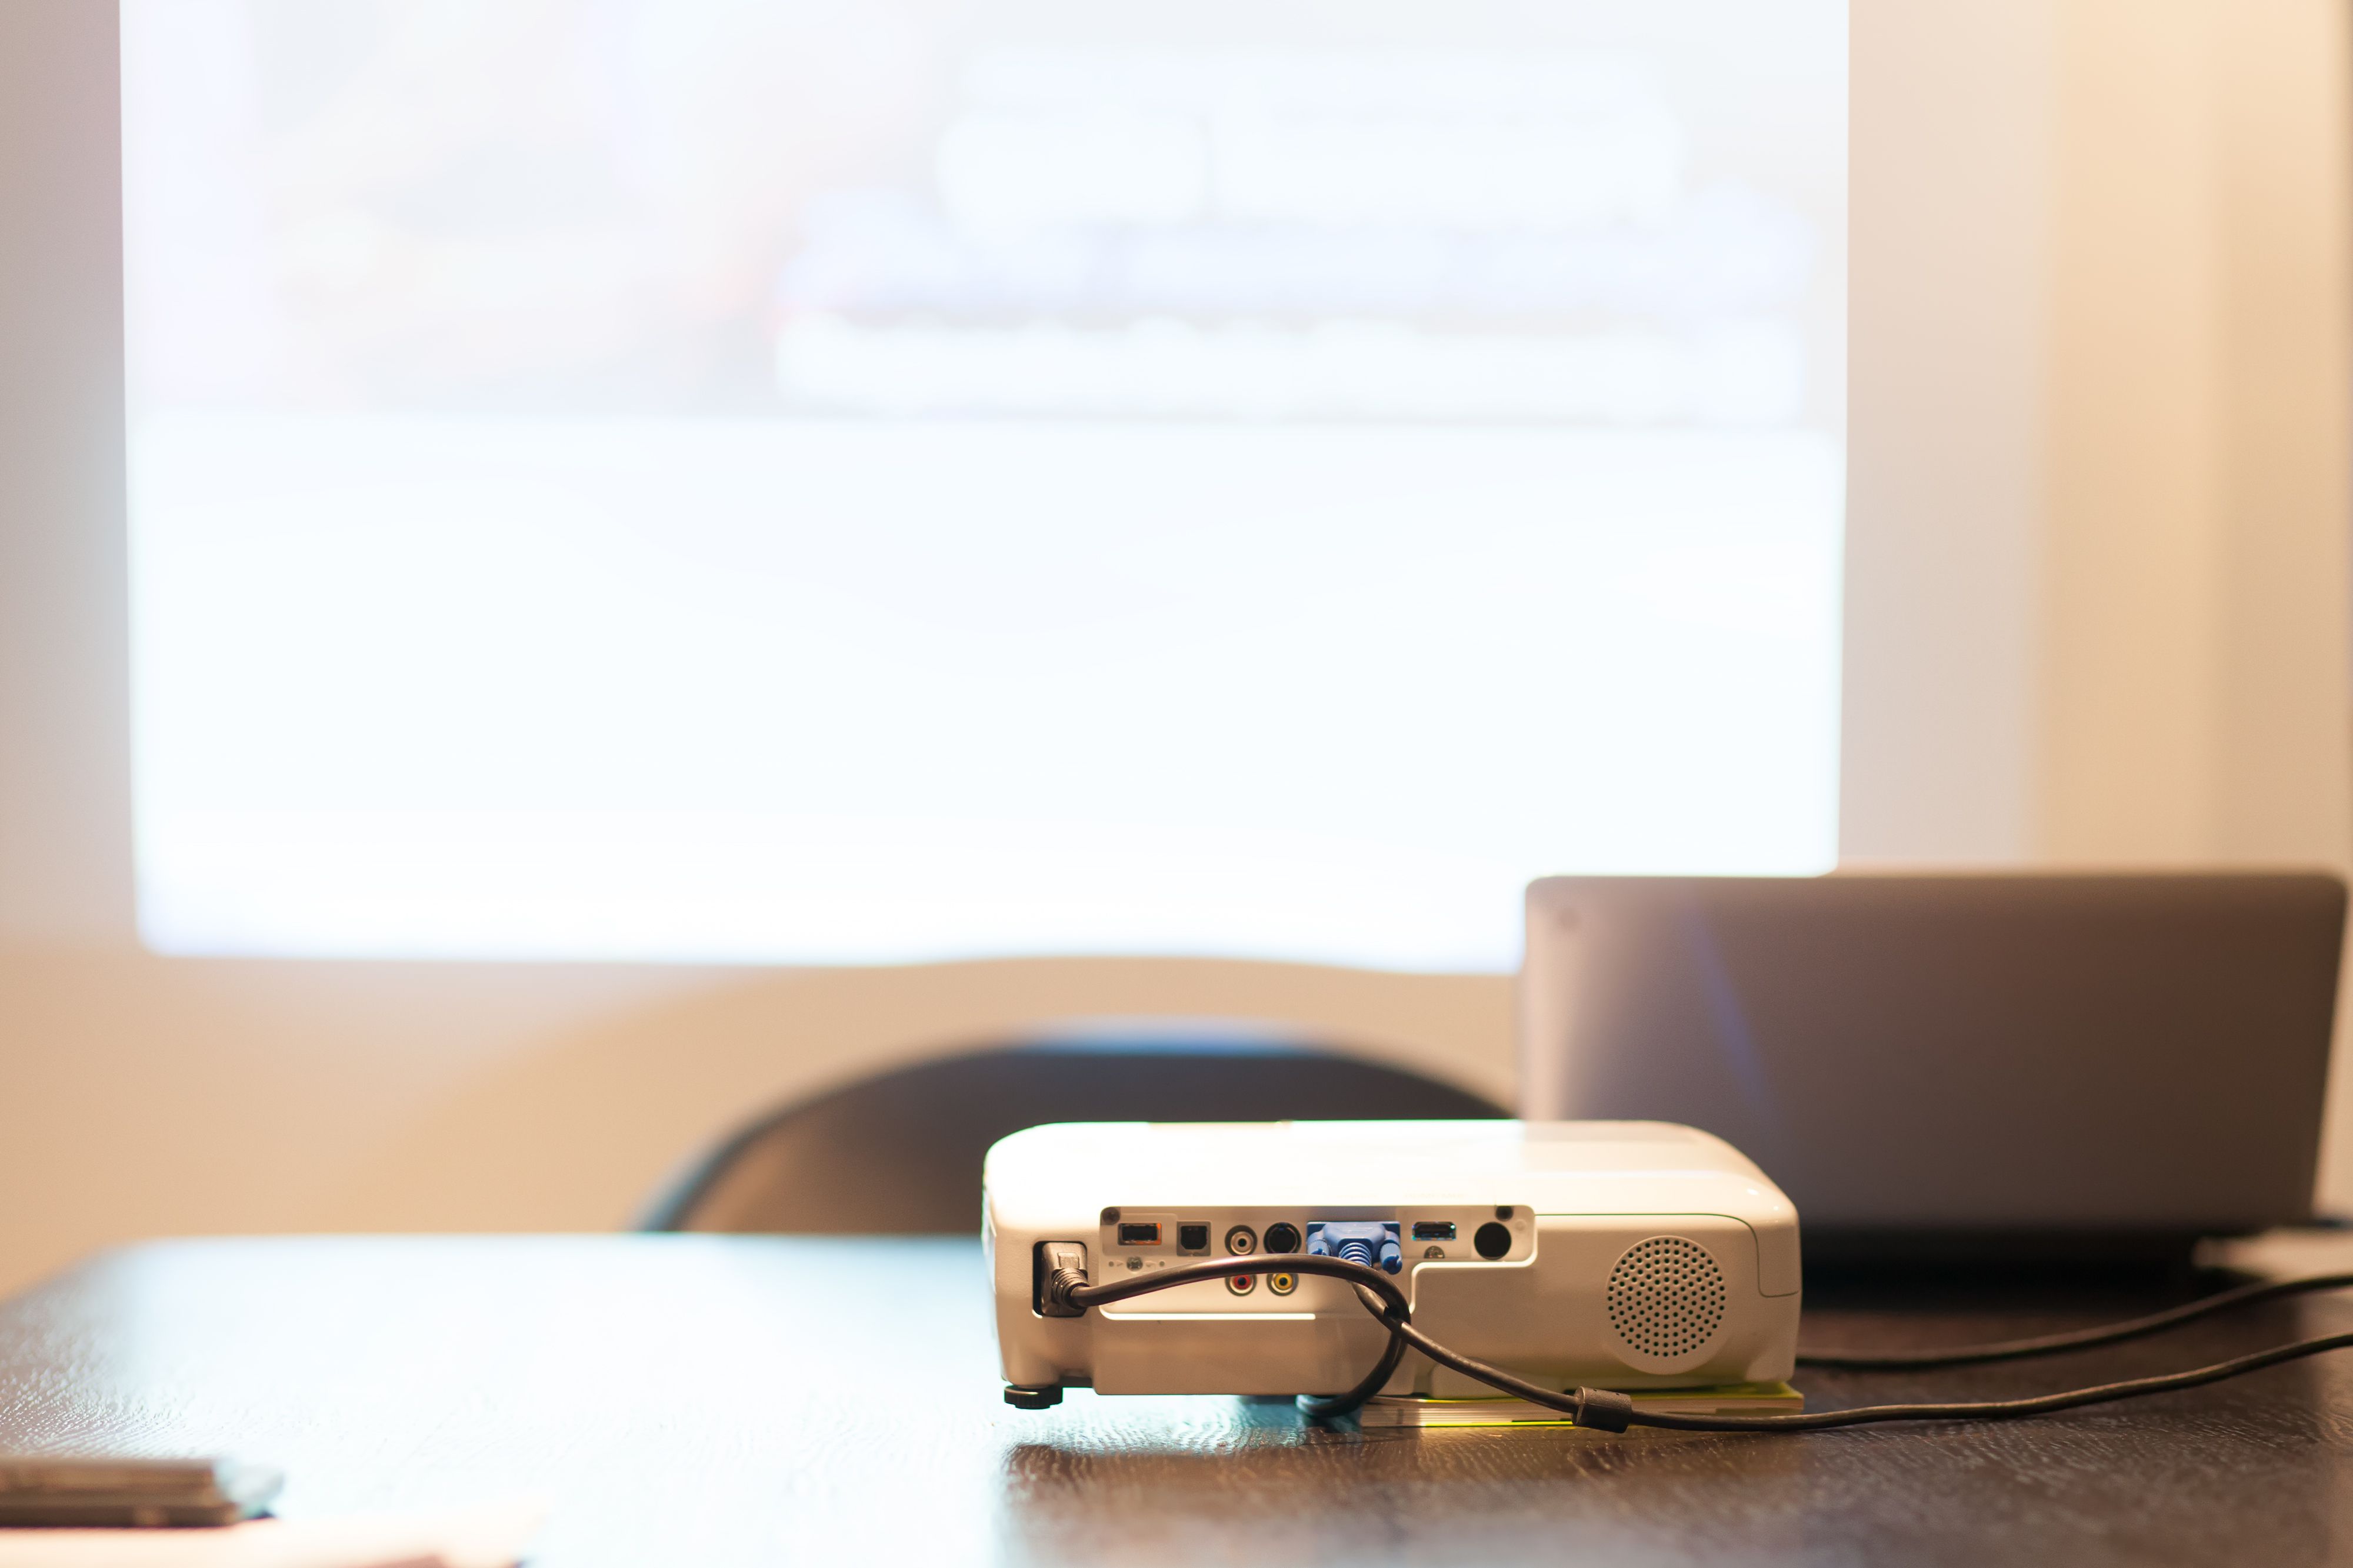
Connecting Your Projector
With your screen mounted, it's time to set up your projector. Position it at the correct distance from the screen based on its throw ratio. If you're unsure about this distance, refer to your projector's manual for guidance. Ensure that the projector is level and aligned with the center of the screen for optimal image quality.
Connect your projector to your media sources using HDMI cables or other compatible connections. Test the setup by projecting an image onto the screen. Make any necessary adjustments to focus or alignment to ensure a crisp and clear picture.
Final Adjustments and Calibration
After setting up your projector, take some time to make final adjustments and calibrations. This includes tweaking picture settings such as brightness, contrast, and color balance according to your preferences and room lighting conditions. Some projectors offer automatic calibration features that can simplify this process.
Don't forget about sound! Proper audio setup is essential for a true home theater experience. Ensure your speakers are positioned correctly for optimal sound distribution throughout the room.
Enjoying Your Home Theater
With everything set up and calibrated, it's time to enjoy your new home theater system. Invite friends or family over for a movie night or simply relax and indulge in your favorite films and shows. A well-set-up projector screen can significantly enhance your viewing experience, offering a slice of cinema magic right at home.
Remember that maintenance is key to keeping your projector and screen in top condition. Regularly clean the screen surface and check all connections to ensure everything continues running smoothly. With these DIY tips, you can create a fantastic home theater setup that provides endless entertainment.