DIY Guide: Setting Up a Projector and Screen for Home Theaters
AM
Introduction to Home Theater Projectors
Creating a home theater can transform your movie-watching experience, and setting up a projector and screen is a key component. With a few handy tools and some basic understanding, you can enjoy the cinematic magic right at home. This guide will walk you through the essential steps to set up a projector for your home theater system.
Choosing the Right Projector
The first step in setting up your home theater is selecting the right projector. Consider factors like resolution, brightness (measured in lumens), and contrast ratio. For most home theaters, a resolution of 1080p is sufficient, but if you're looking for more detail, 4K projectors are also available. Ensure your projector has the necessary ports for connecting to your devices.
Understanding Lumens
Lumens measure the brightness of a projector. If your room has some ambient light, opt for a projector with higher lumens. A rating of 2,000 to 3,000 lumens is typically adequate for most home environments.
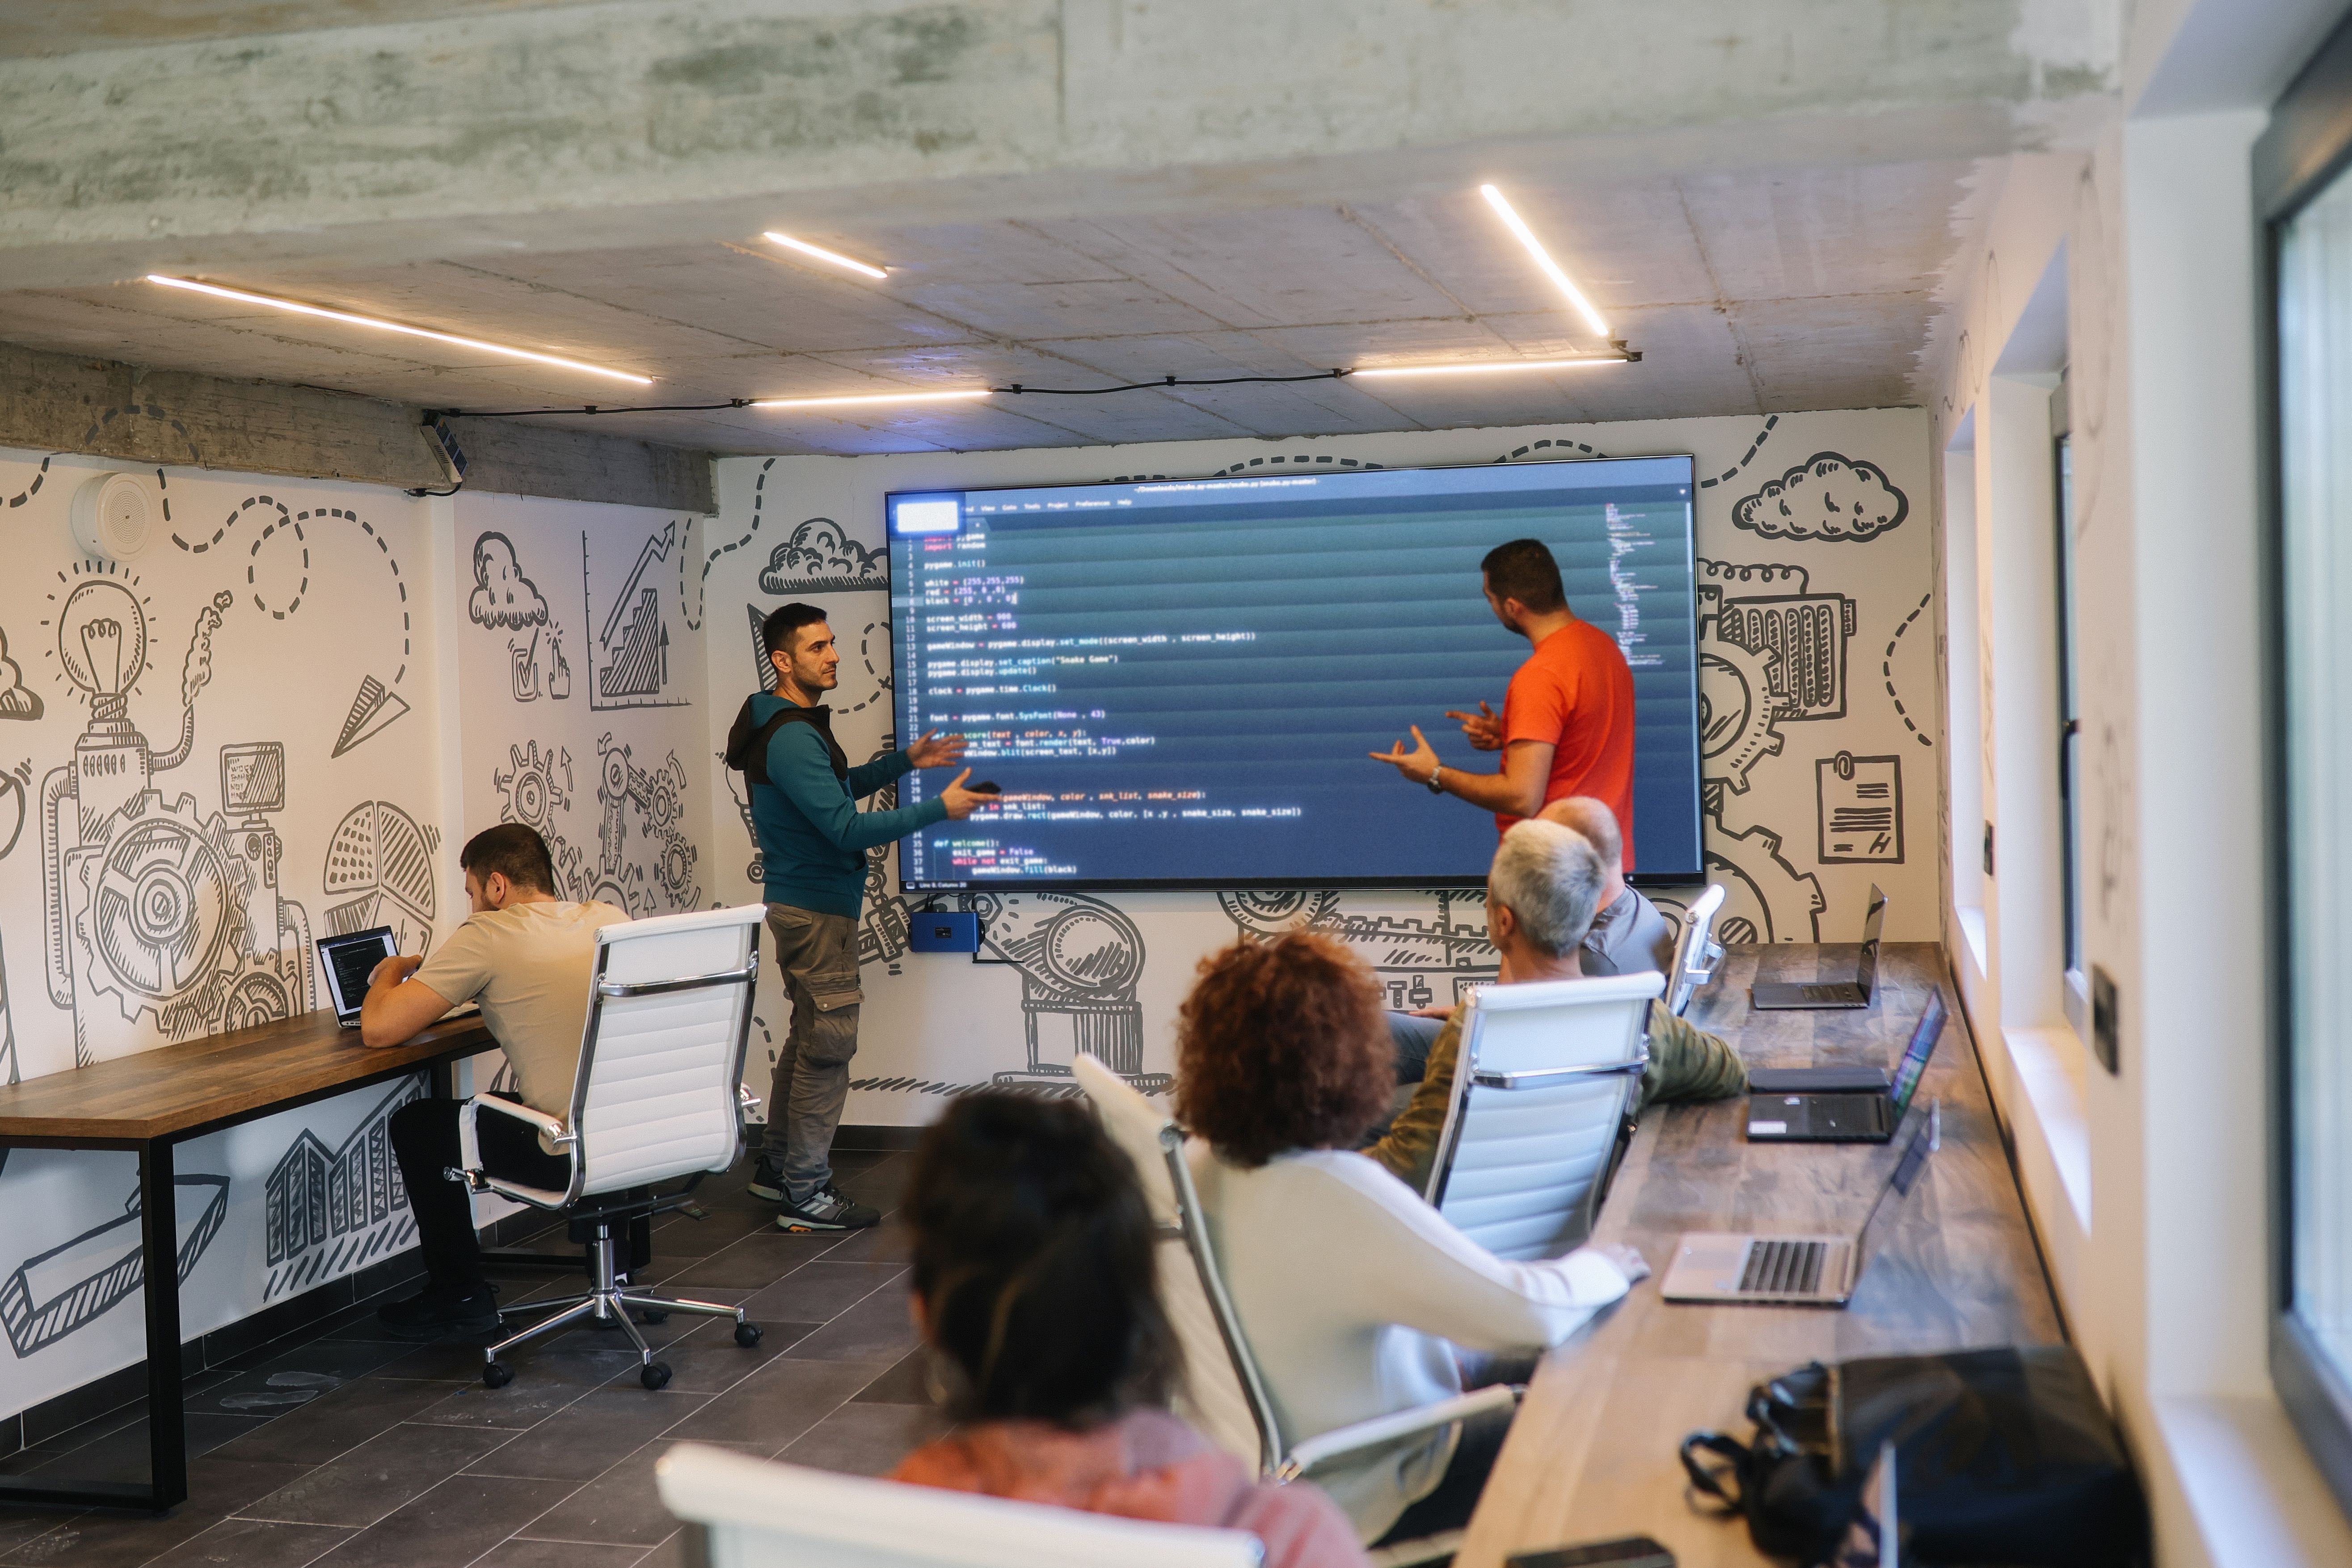
Selecting the Perfect Screen
Once you've chosen a projector, the next step is selecting a screen. Screens come in various materials and sizes. The right screen will depend on your room's size and the projector's capabilities. Consider an aspect ratio of 16:9 for a standard widescreen experience.
Screen Material Matters
Screen materials vary, offering different gains which impact brightness and viewing angles. Matte white screens are popular for their versatility and cost-effectiveness. Higher gain screens can reflect more light and are suitable for rooms with ambient lighting.
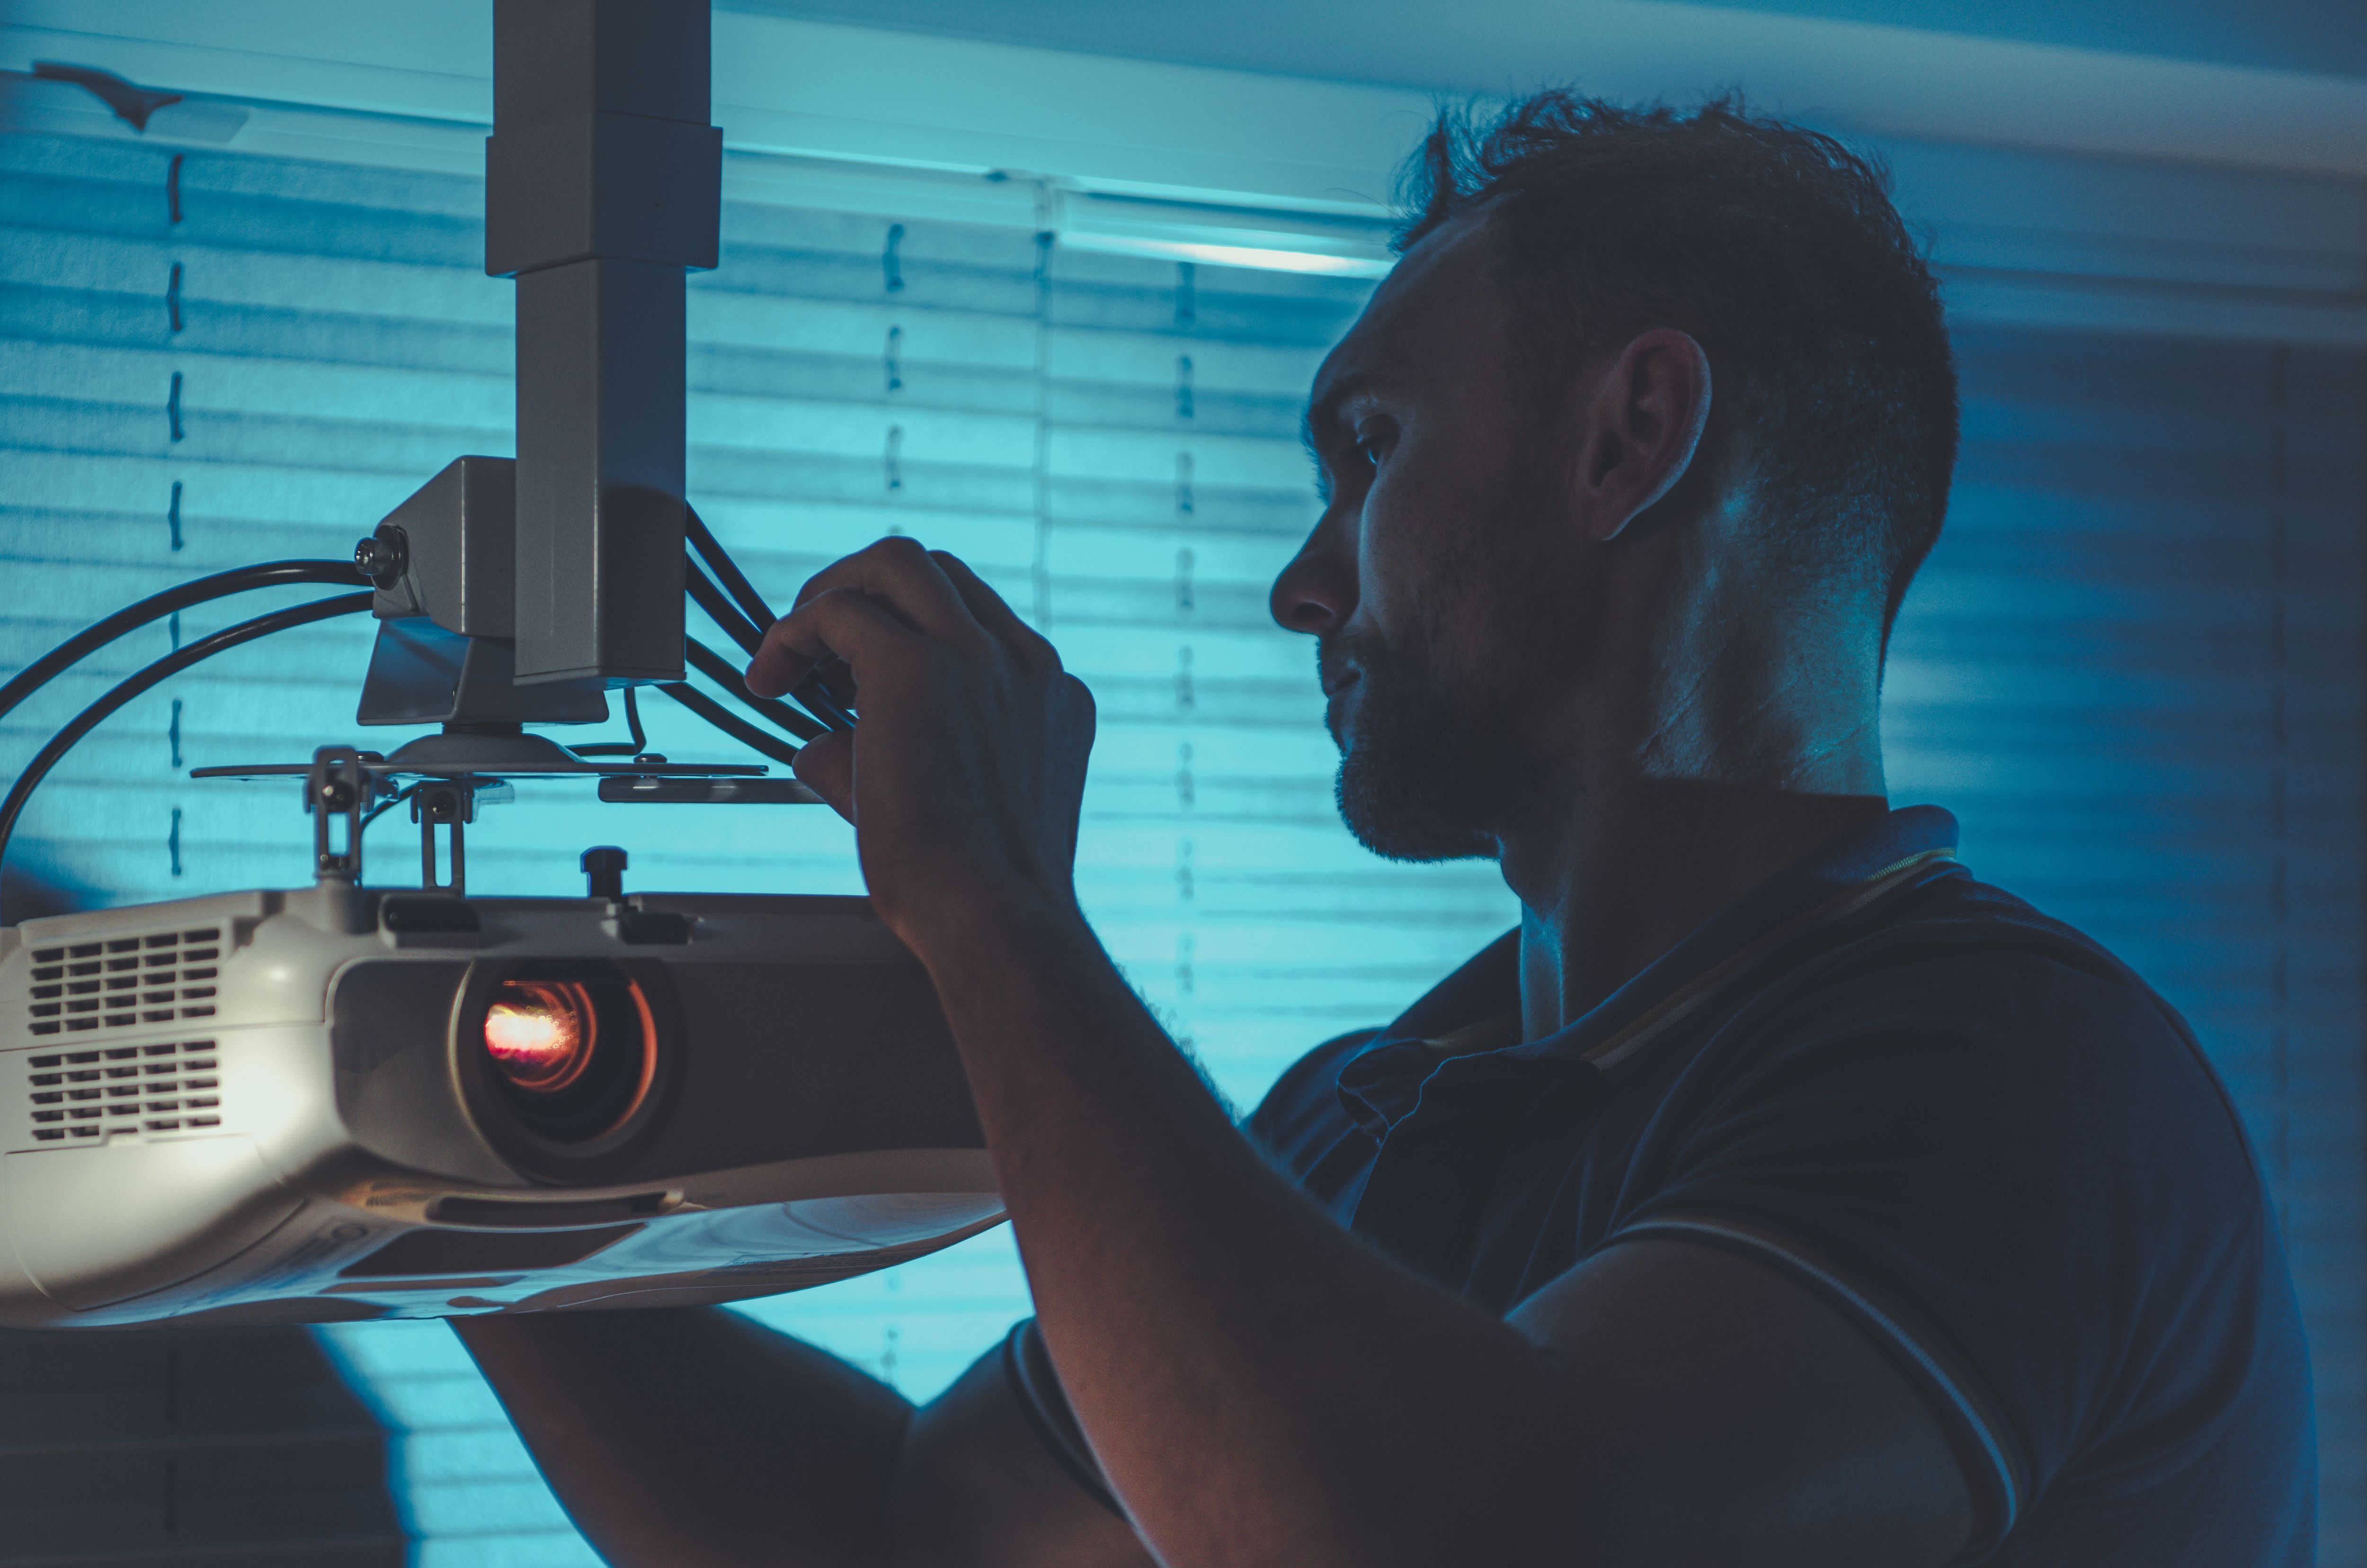
Setting Up Your Projector
Once you have your equipment, it's time to set up. Follow these steps to ensure optimal performance:
- Positioning: Place the projector at the correct distance from the screen, known as the throw distance. This is often mentioned in the projector’s manual.
- Leveling: Ensure the projector is level and aligned with the center of the screen.
- Cable Management: Connect your media sources using HDMI or other compatible cables, ensuring they are neat and organized.
Calibrating Your Image
After setting up, calibrate the image for the best viewing experience. Adjust focus, zoom, and keystone correction to ensure the image is sharp and fits perfectly on the screen. Some projectors come with built-in calibration tools to simplify this step.
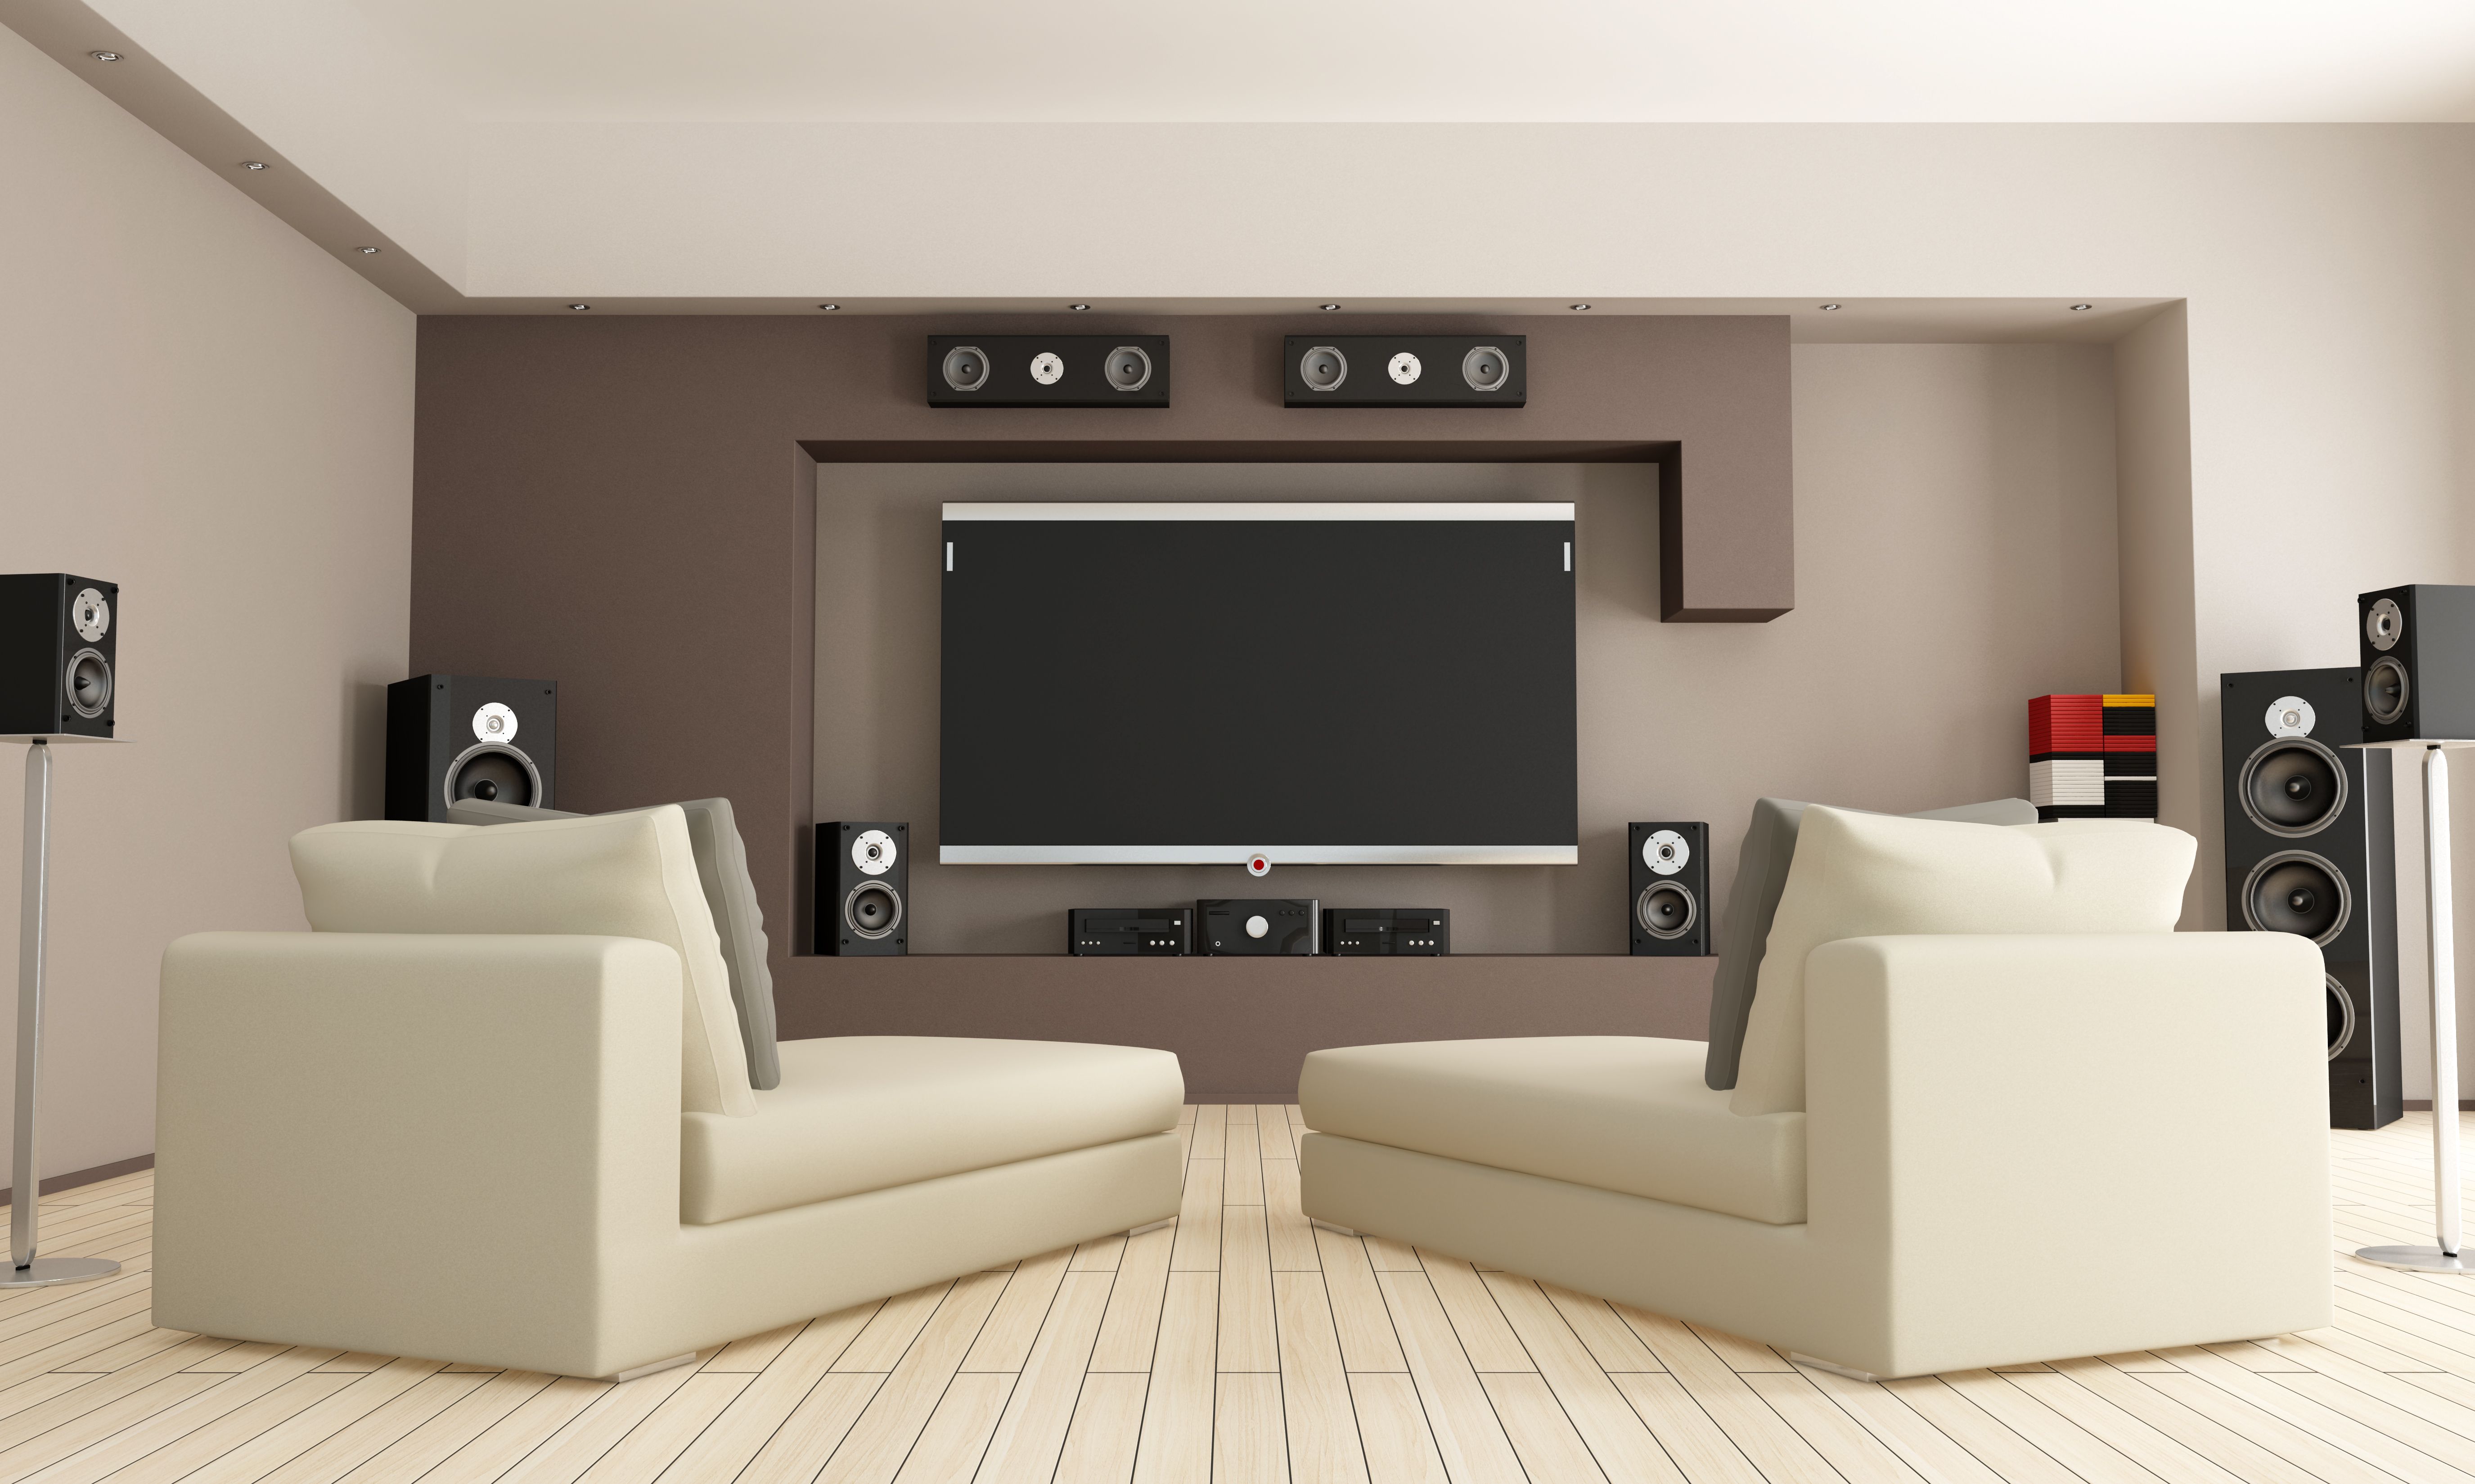
Sound Considerations
A great visual experience should be complemented by quality sound. Consider investing in a sound system or soundbar that suits your room size and acoustics. Most projectors have audio output options to connect external speakers easily.
Final Touches and Enjoyment
With everything set up, make the final touches to your home theater space. Consider adding comfortable seating, blackout curtains, and soft lighting to enhance the ambiance. Once everything is in place, sit back, relax, and enjoy your first movie in your personalized cinema!
Maintenance Tips
Regular maintenance can prolong your projector’s life. Clean the lens periodically, replace filters if necessary, and ensure there is adequate ventilation around the unit to prevent overheating.